Nintendo 3DS USB-C Replacement charge port and 10 similar items

Free Shipping
Nintendo 3DS USB-C Replacement charge port w/ installation Jig+bezel
£13.54 GBP
View full item details »
Shipping options
£11.28 to Worldwide
Ships from
United States

Offer policy
OBO - Seller accepts offers on this item.
Details
Return policy
Purchase protection
Payment options
PayPal accepted
PayPal Credit accepted
Venmo accepted
PayPal, MasterCard, Visa, Discover, and American Express accepted
Maestro accepted
Amazon Pay accepted
Nuvei accepted
View full item details »
Shipping options
£11.28 to Worldwide
Ships from
United States
Offer policy
OBO - Seller accepts offers on this item.
Details
Return policy
Purchase protection
Payment options
PayPal accepted
PayPal Credit accepted
Venmo accepted
PayPal, MasterCard, Visa, Discover, and American Express accepted
Maestro accepted
Amazon Pay accepted
Nuvei accepted
Item traits
| Category: | |
|---|---|
| Quantity Available: |
20 in stock |
| Condition: |
Unspecified by seller, may be new. |
Listing details
| Seller policies: | |
|---|---|
| Shipping discount: |
Seller pays shipping for this item. |
| Posted for sale: |
More than a week ago |
| Item number: |
1712593620 |
Item description
UPDATED: The jigs are now in a resin 'snap' design that uses friction to hold it in place, it's single use and you'll need to destroy the arms of the jig to remove it after the job is complete.
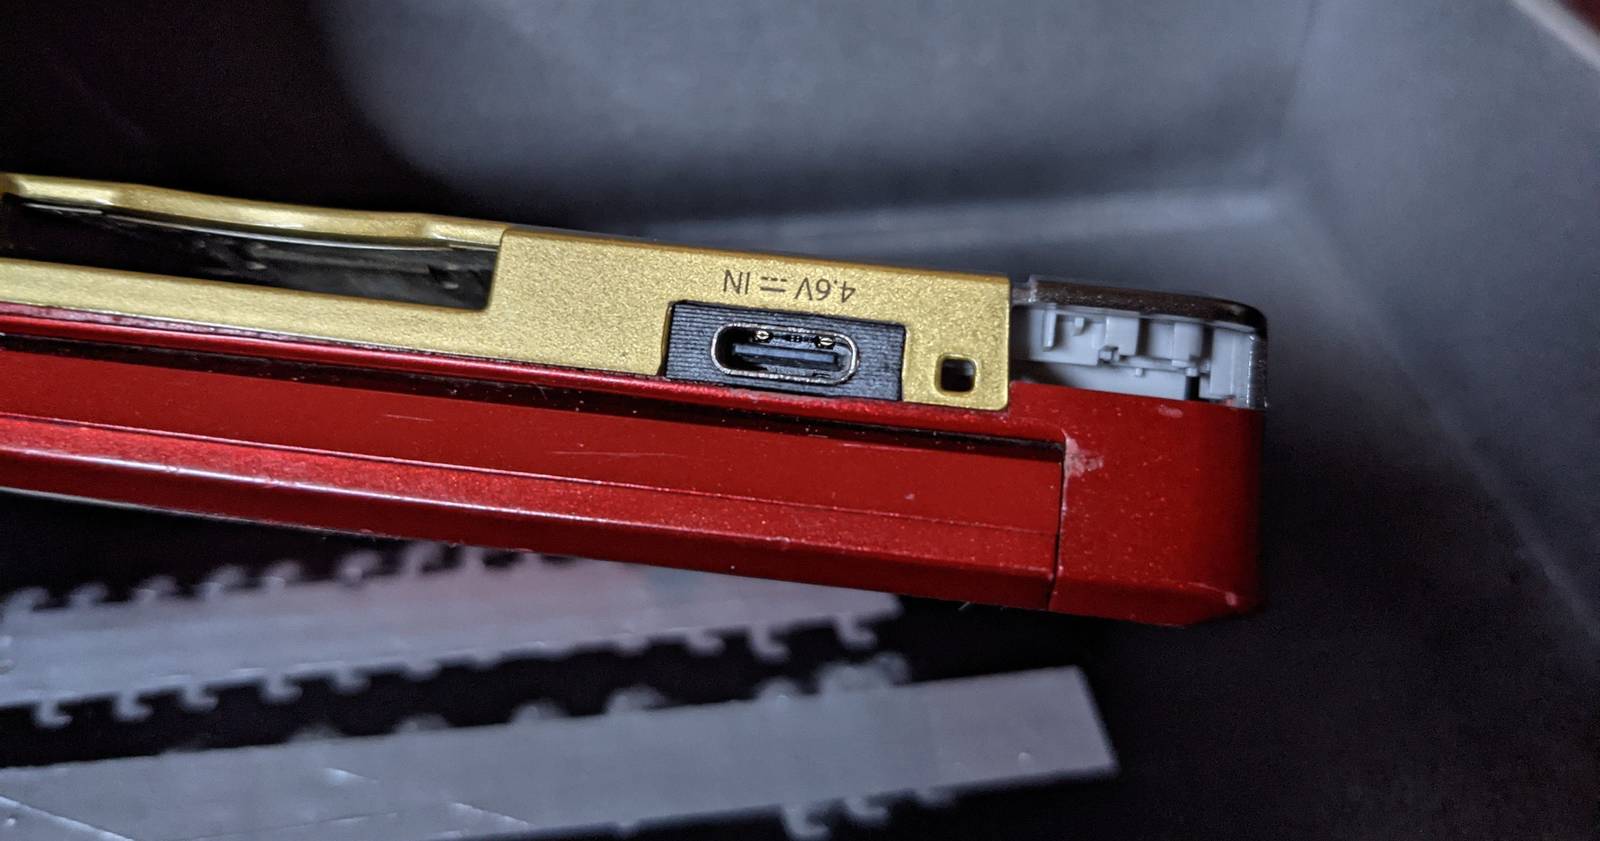
This is a PCB USB-C charging port to replace the original charging port on the 3DS the original model, this port works with USB-C to USB-C cable charging so you don't need to worry about having a USB to USB-C cable.
The Installation jig allows you to solder down the castellated holes while holding the PCB in perfect alignment, a thumb screw is provided for easy assembly and disassembly of the jig.
While I've tested the jig on a few 3D boards I can't guarantee a perfect fit so some sanding may be required.
I do not preserve the old gold contacts of the 3DS.
If I had to rate the difficulty of this install I'd say it's the hardest one out of all the ones I do as getting the grinding and sanding down right is slow and difficult.
Here is my installation process:
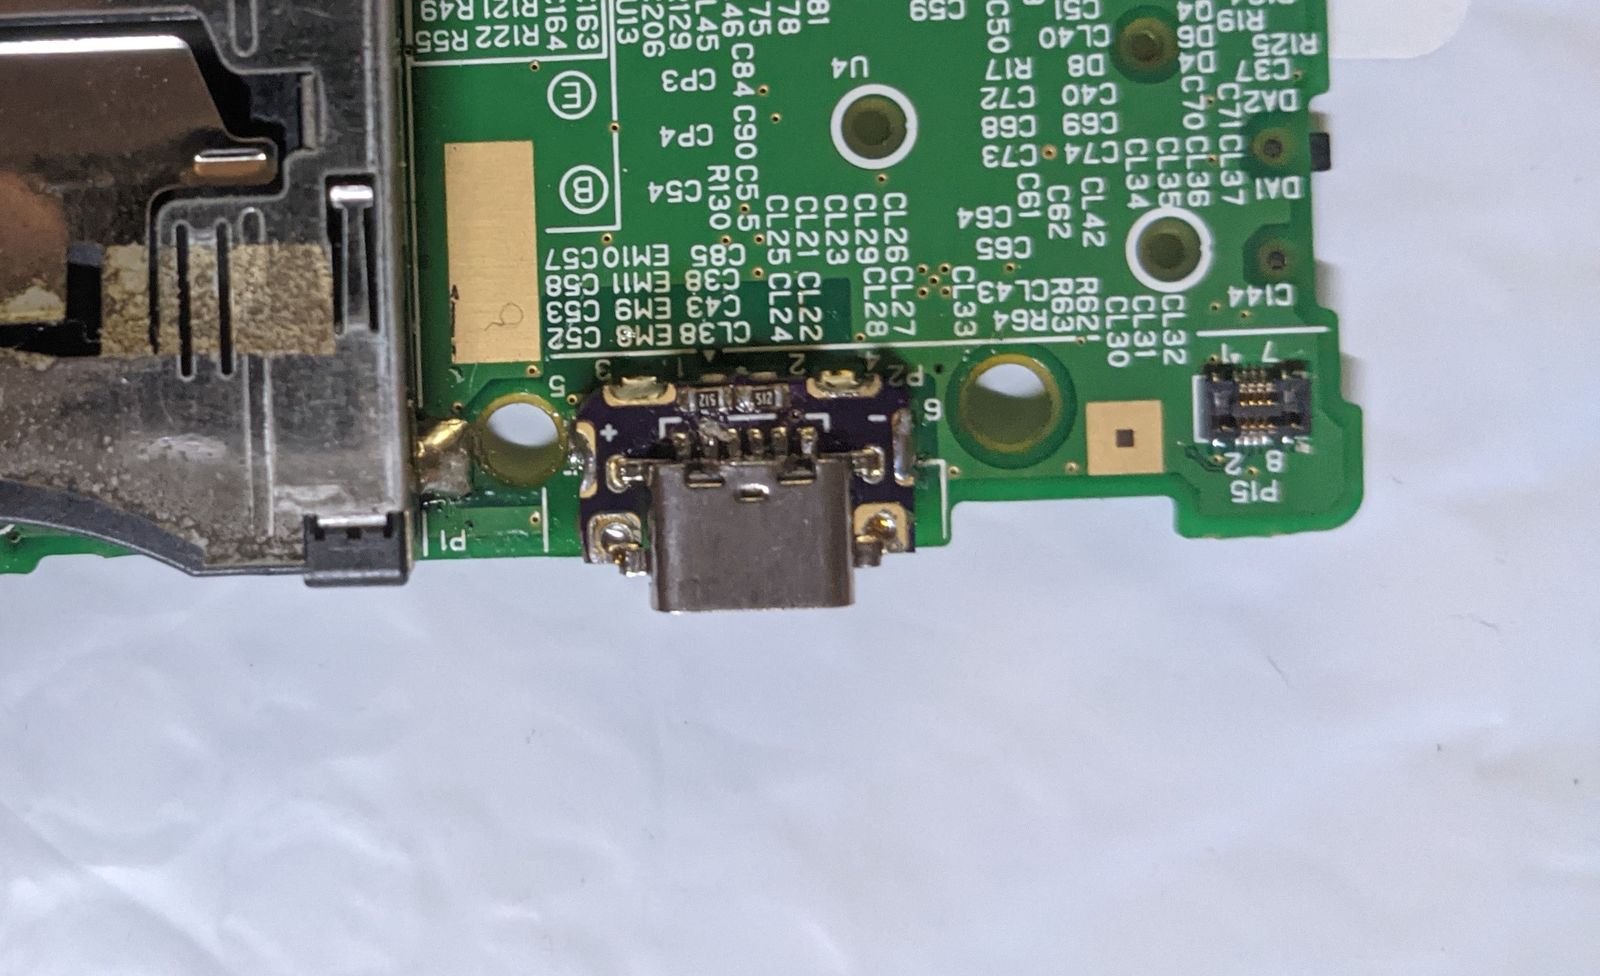
PCB
1. Disassemble your 3DS
2. Remove the PCB.
3. Use a hot air station @290C (no more than 30-40 seconds is necessary) to remove the original charging port (preheat the board with a hot plate @168C or use the hot air station to preheat the board)
4. Clean the PCB pads
5. Put the USBC board in the jig check photos for reference.
6. slide the jig onto the PCB board, you'll want to slip it on coming in from the right (you can sort of see this in the video)
7. Firmly place the USB-C board in the top half the jig, it should lay flat.
8. Apply some flux to the castellated holes
9. Use a decent amount of solder to the affix the board. I have my iron at 295C for this.
10. Let the board cool before snapping the arms of the jig, I suggest flush cutters for this.
11. Touch up each pad and heat up the pads near the edge so that the solder on the pads under them melts.
12. Heat up the board again with the hot air station to make sure everything is settled and make sure all the pads are in contact (no more than 30-40 seconds @290 C)
13. Use a multimeter to make sure that VCC isn't shorted to GND.
GRINDING/FITTING
1.Take some flush cutters and snip away at the plastic 'gate' of the old charging port.
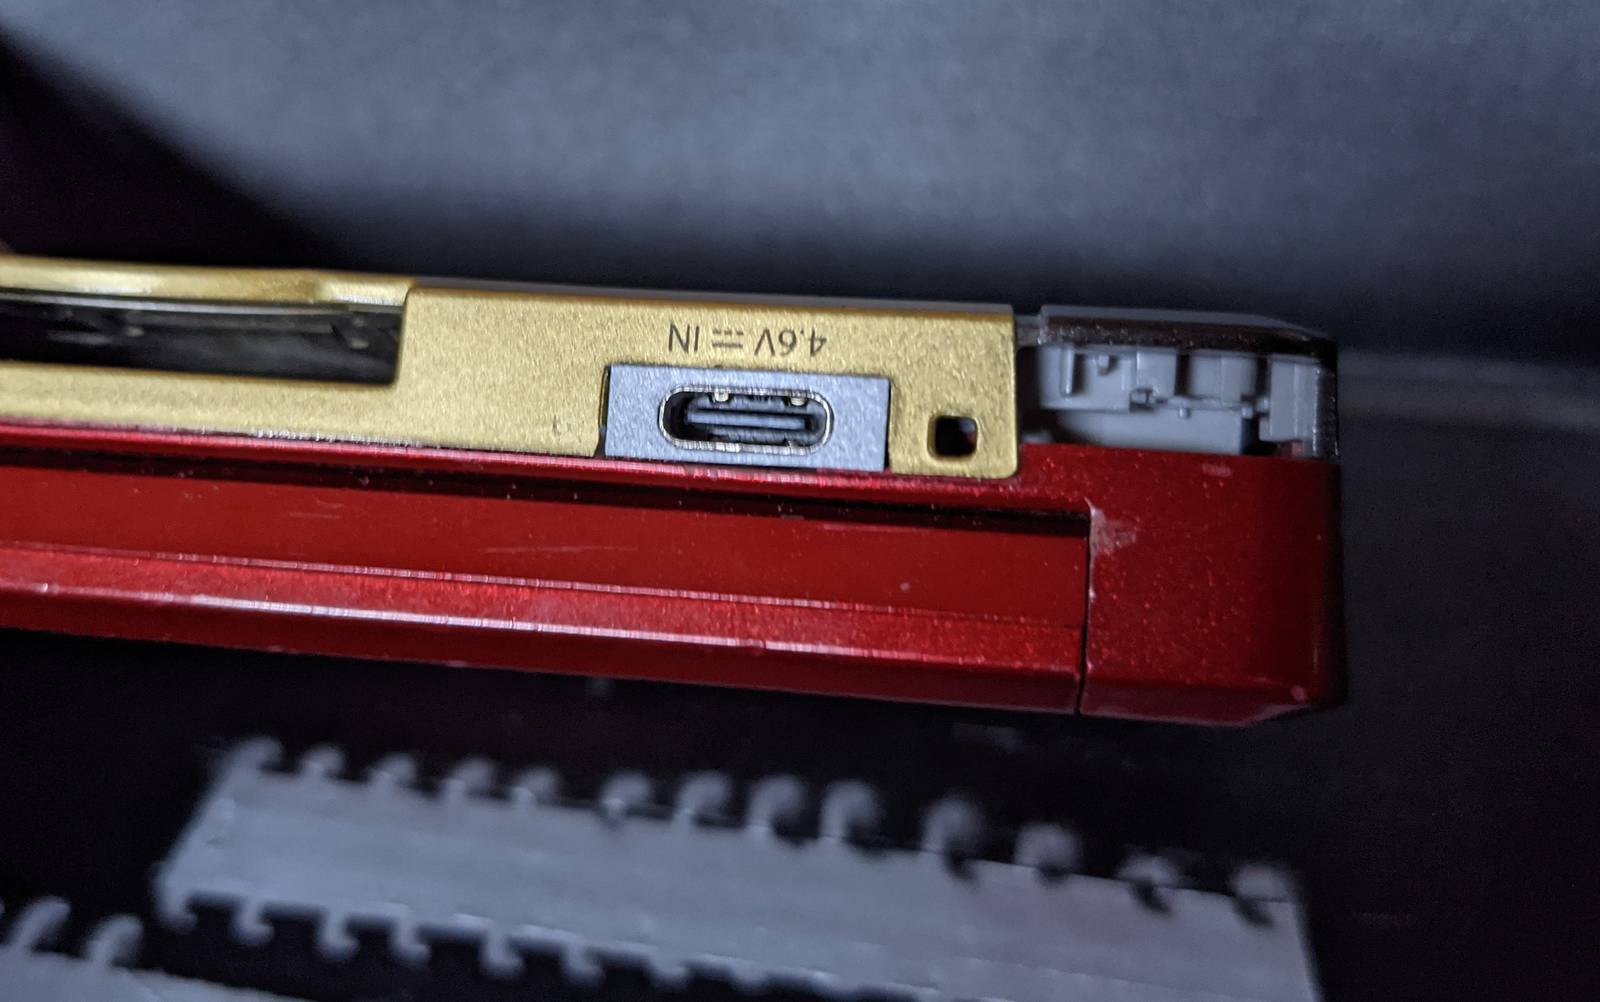
2. Grab the 3DS bezel and try to put it in the gate, looking sideways check if it's nearly flush with the edge of the back half of the 3DS (it shouldn't be at this step). You will need to lightly sand the sides of the 3DS back half charging port cutout so that it can fit.
3. Snip, sand, and file all interfering plastic bits until the bezel fits in flush with the edge of the back half, check the photos for what the grinded section should 'look' like.
4. Keep repeating 2 and 3 until you have a good fit, go slow you don't want to cut too much.
REQUIRED BUT NOT INCLUDED TOOLS:
1. A soldering Iron
2. Flux
3. Solder
4. Screwdrivers
5. Multimeter
6. File/rotary tool
7. Flush Cutters
(highly) RECOMMENDED BUT NOT INCLUDED TOOL:
1. Hot air station
2. Hot plate
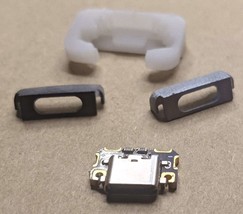
INCLUDED:
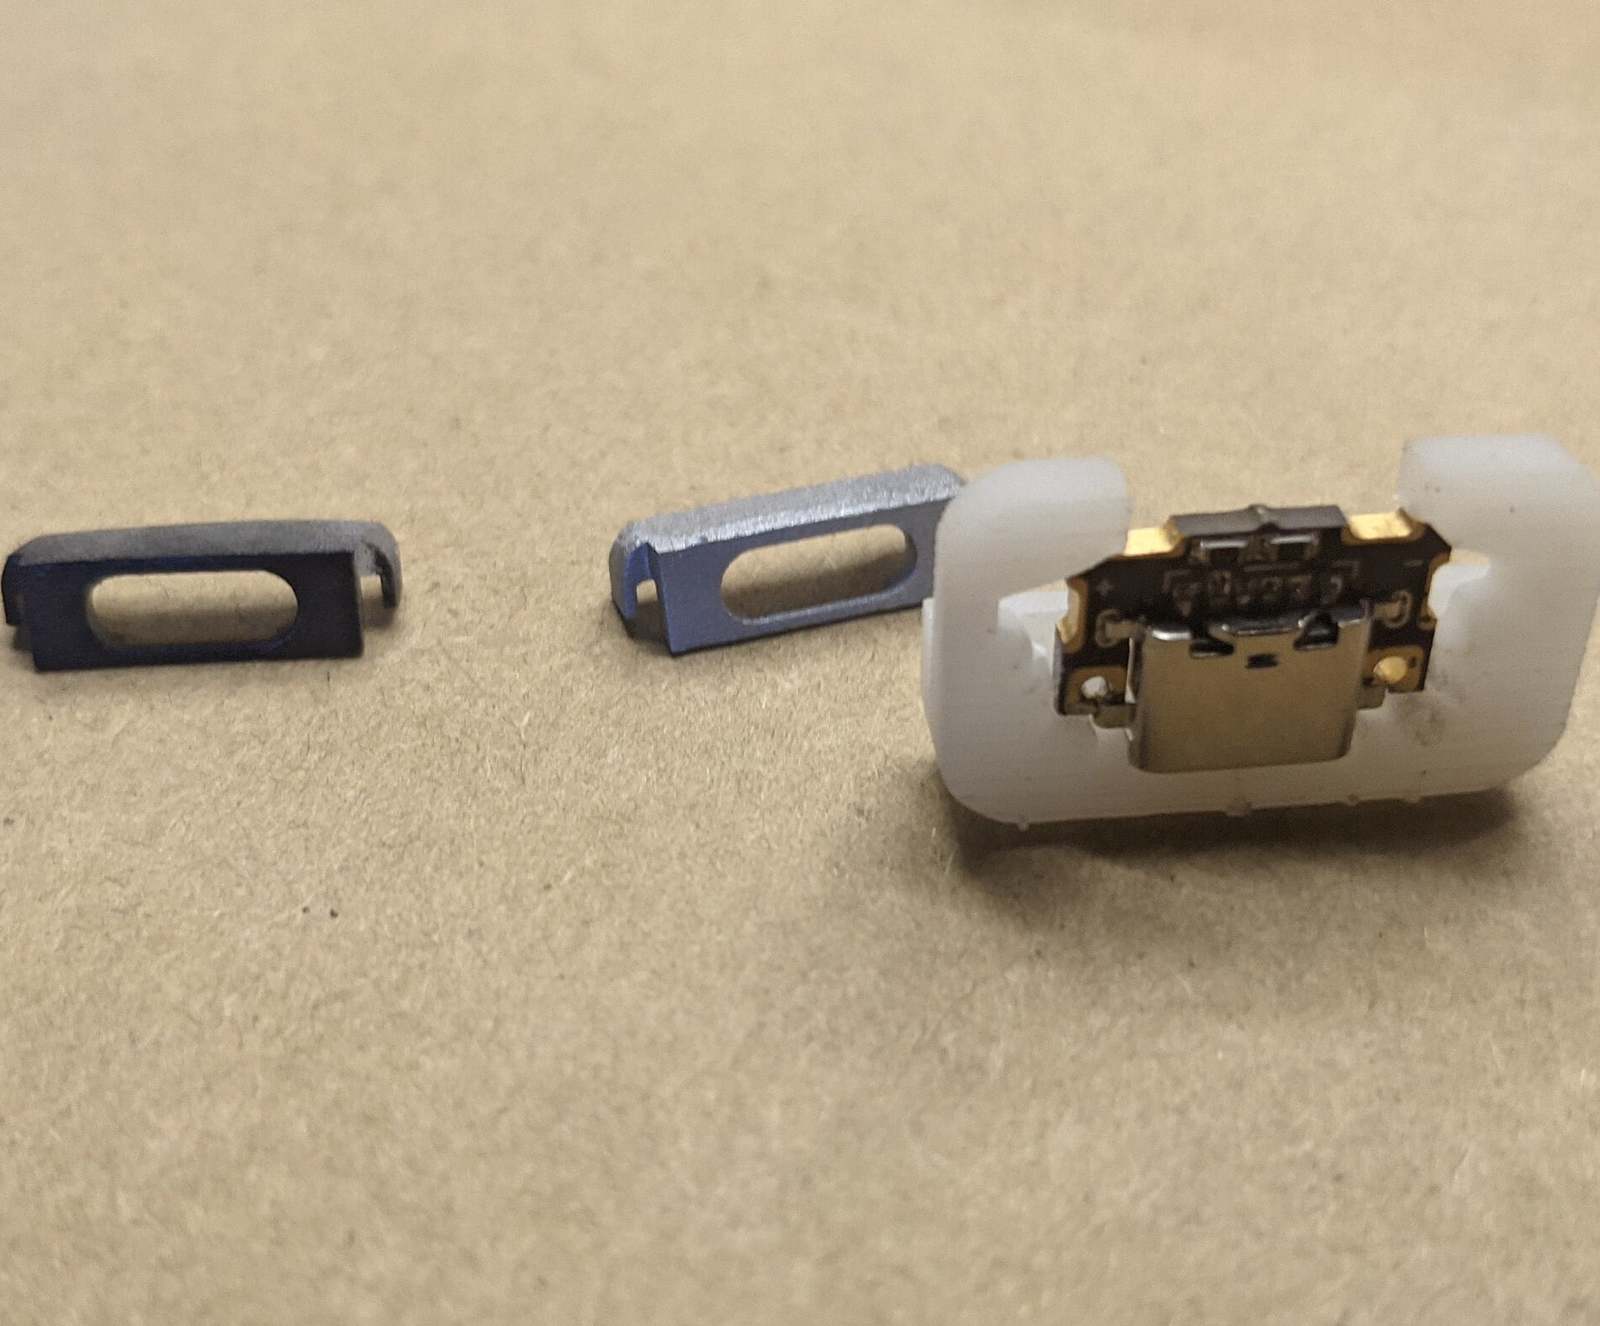
1. USB-C PCB board fully assembled
2. Resin Installation Jig
3. 3D Printed bezel 1 silver and 1 black
|
Why are we showing these items?
Booth
BXDIY a diy-lightful store! |
|


 USBC ports (retain cradle ch... - £16.54 GBP")
-
Refine your browsing experience
We can show you more items that are exactly like the original item, or we can show you items that are similar in spirit. By default we show you a mix.
This item has been added to your cart
 Nintendo 3DS USB-C Replacement charge port w/ installation Jig+bezel added to cart.
20 available in stock
Nintendo 3DS USB-C Replacement charge port w/ installation Jig+bezel added to cart.
20 available in stock
View Cart or continue shopping.
 Please wait while we finish adding this item to your cart.
Get an item reminder
We'll email you a link to your item now and follow up with a single reminder (if you'd like one). That's it! No spam, no hassle.
Already have an account?
Log in and add this item to your wish list.